Introduction
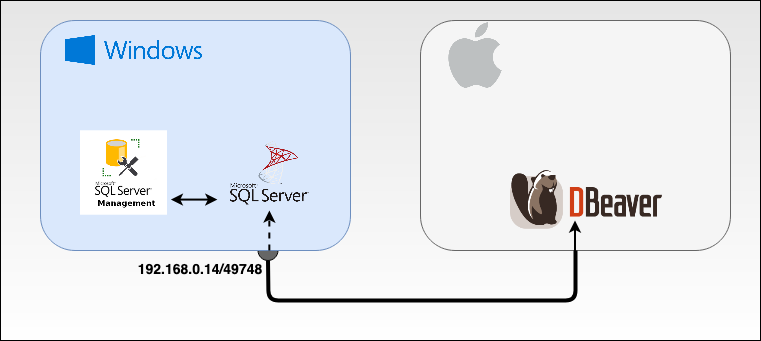
As a data analyst/scientist, you are likely to be brought to use Microsoft SQL Server Management Studio (SSMS) in a way or another during your career to access, configure, manage and administrate SQL Servers. However, this tool is only available on the Windows platform. The good news is that we have a bunch of other alternatives such as BDeavear to use under other Operating systems. In the following, I will give a basic use case of how to install SQL Server 2019 under Windows and access it via SSMS locally and via DBeaver remotely under Mac as shown in the following picture.
Before diving into the details, let’s start with some useful definitions:
- SQL programming tool is the software that allows to access and manage databases. It provides several features such as SQL editing, Object browsing, debugging, and monitoring.
- SQL editor is a tool that allows users to edit and execute SQL queries.
- Microsoft SQL Server is an RDMS (Relational Database Management System) created by Microsoft. It is available under Windows and Linux (since March 2016). It is possible to run it under Mac via Docker. Its main function consists in storing and retrieving data as requested by other applications (SQL programming tools mainly).
- Microsoft SQL Server Management Studio is a platform aiming to manage any SQL infrastructure. It is available under Windows, Linux, and Docker.
- DBeaver: is an SQL client software application and database administration tool. It can interact with relational databases by using a JDBC API and a JDBC driver. Proprietary databases drivers are used to communicating with NoSQL databases.
Install Microsoft SQL Server Express
We will install SQL Server Express (a free version with some limited features such as 10 GB maximum database size). Here are the steps:
- Click here to download the executable. Choose your language and hit the Download button,
- Run the executable file (SQL2019-SSEI-Expr.exe) to start the installation process,
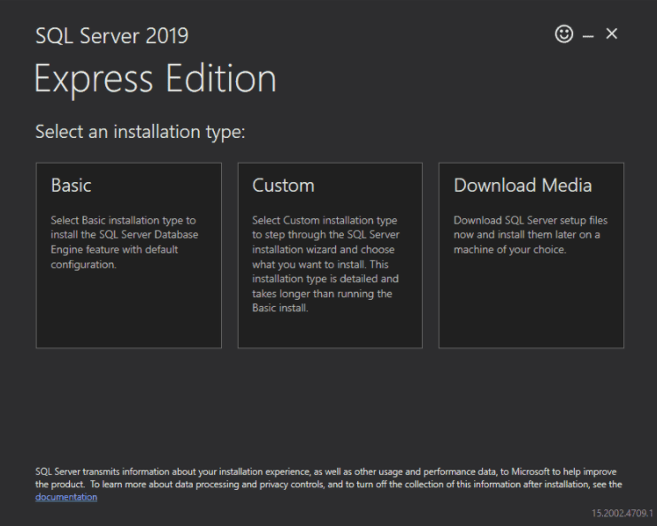
- Choose the installation Type. For this tutorial, we are using the Basic installation which is a quick and easy way to install SQL Server Database Engine with the default configuration.
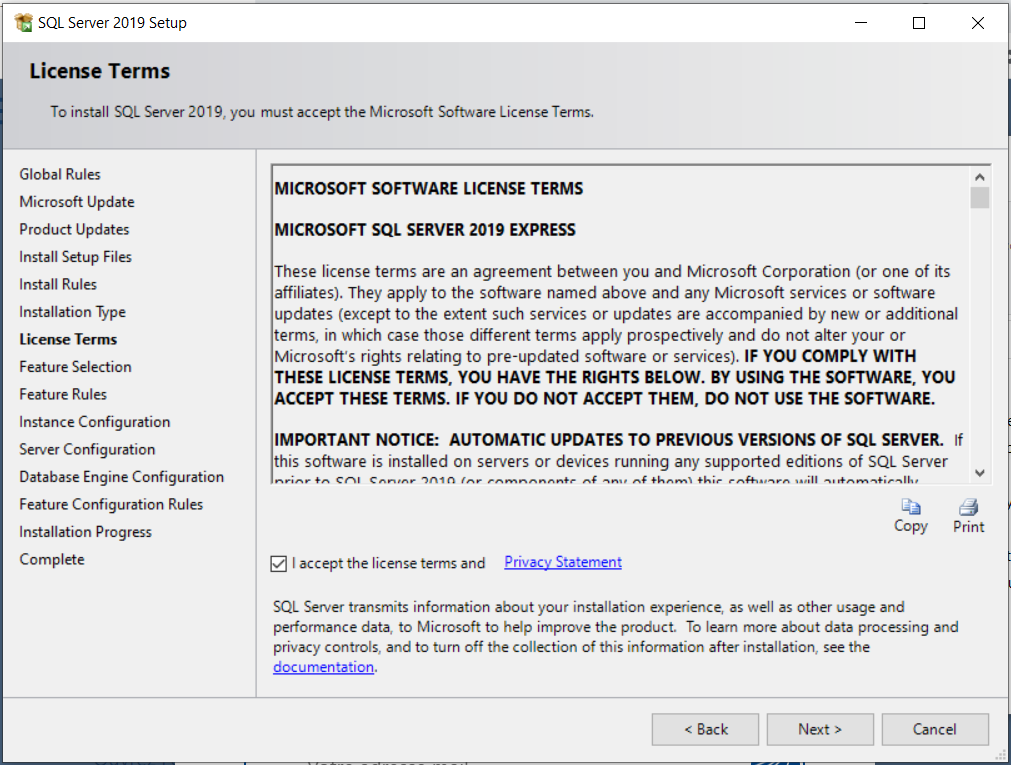
- Accept the license agreement

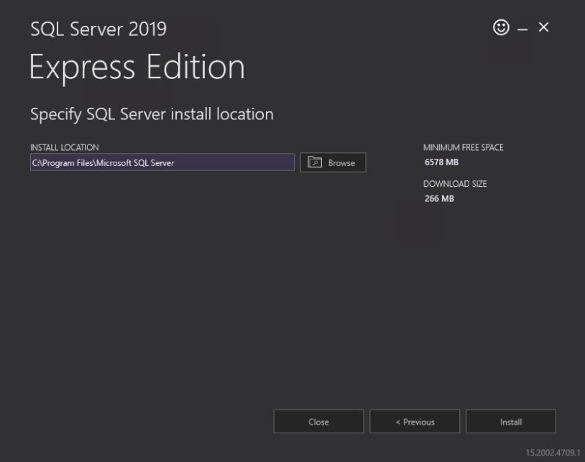
- Choose a default installation Location or any other Install Location then click Install:
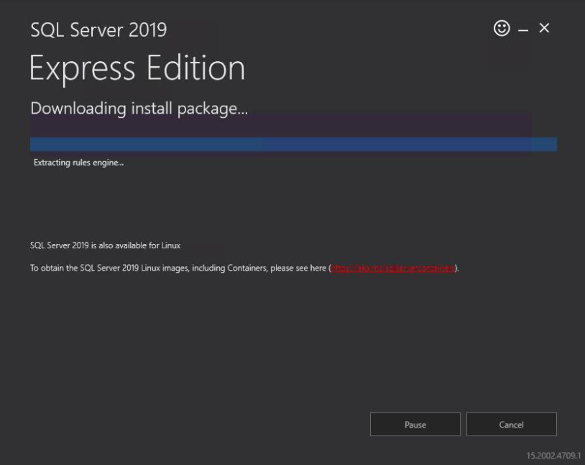
- The download and the install of the package will begin:
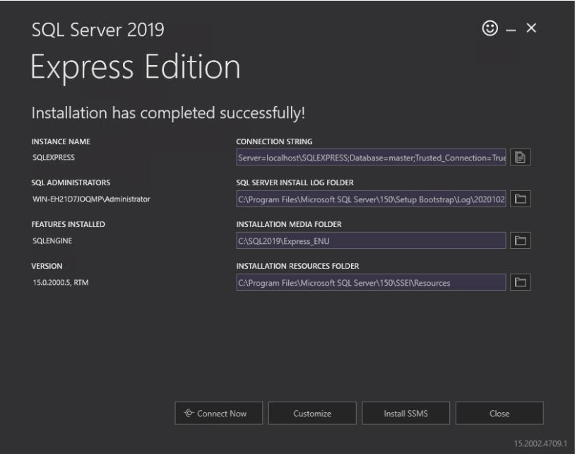
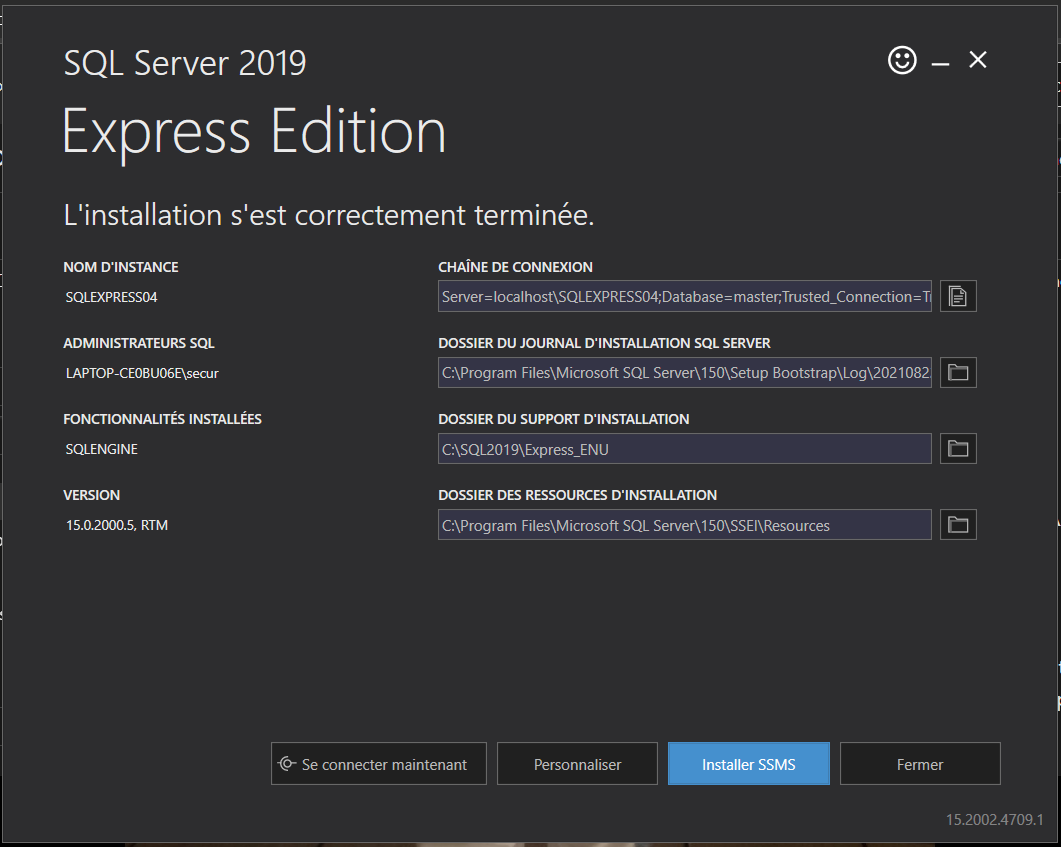
- If everything goes fine, you will see the next window notifying a successful installation. At this point, you can connect to the server, customize the installation and Install SQL Server Management Studio.
- Click on Customize button,
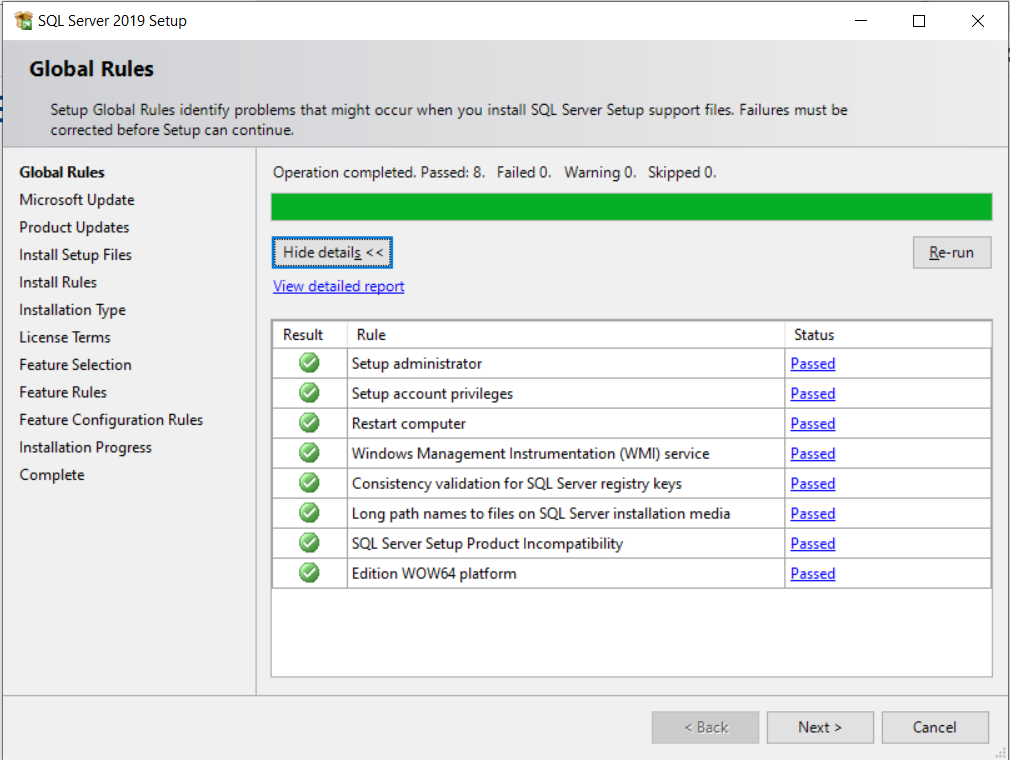
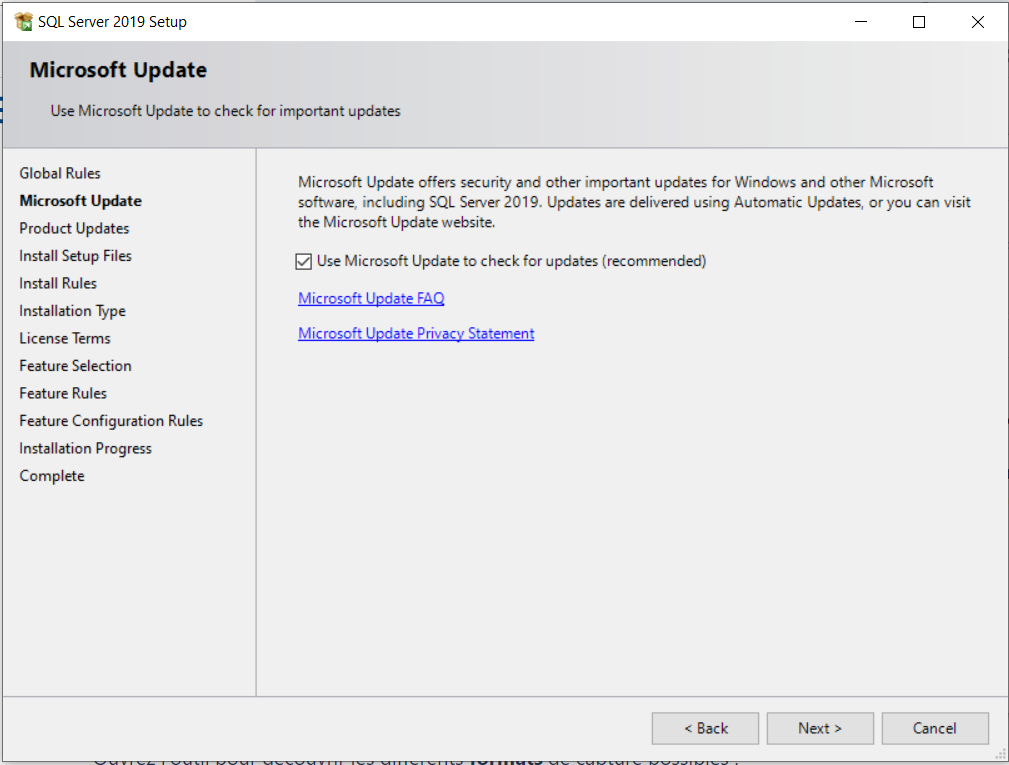
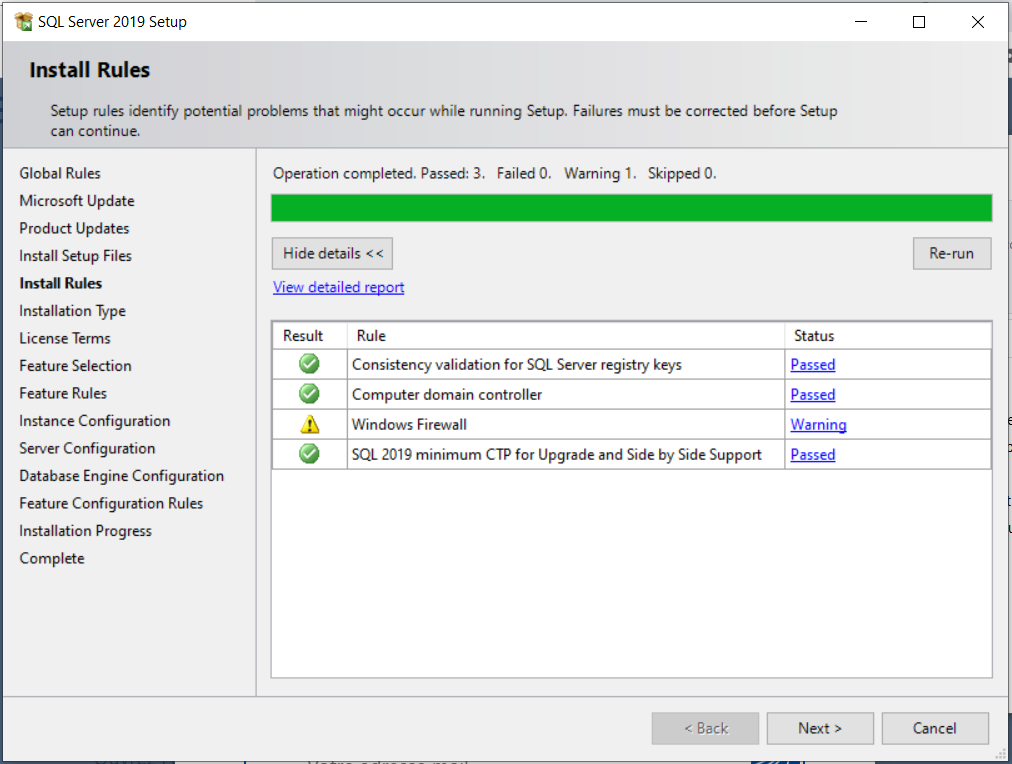
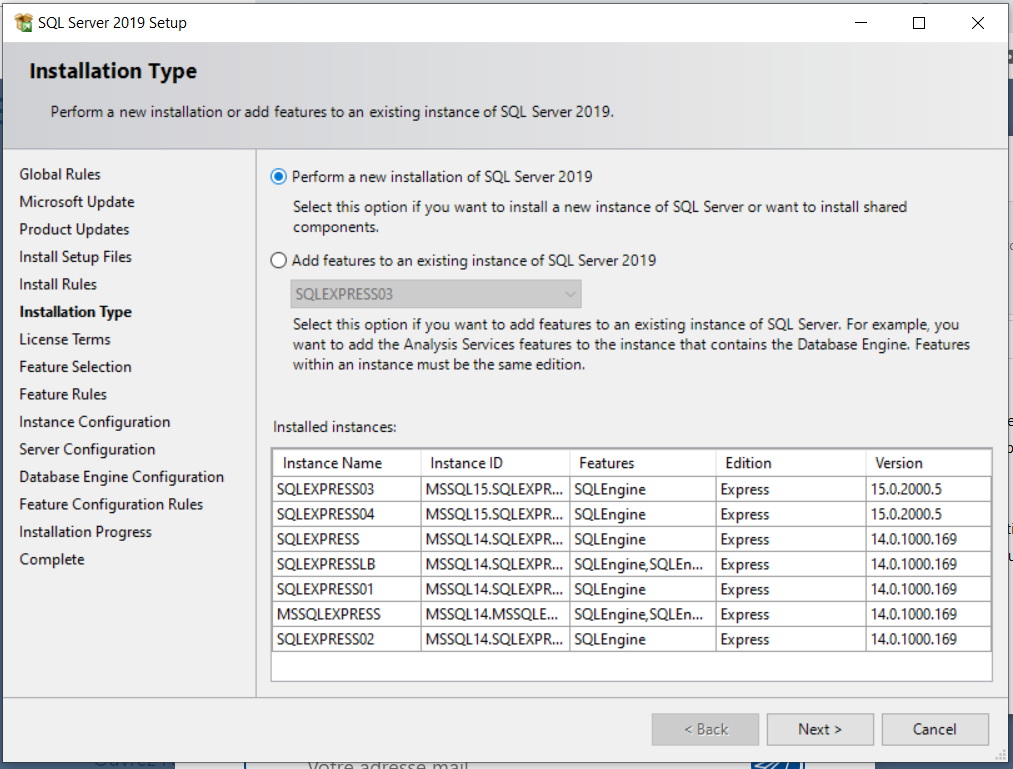
- Click Next for the next few steps: Global Rules (check of the computer configurations), Microsoft Update, Product Update, Install Setup Files, Install Rules (check of potential issues), Installation Type, License Terms,
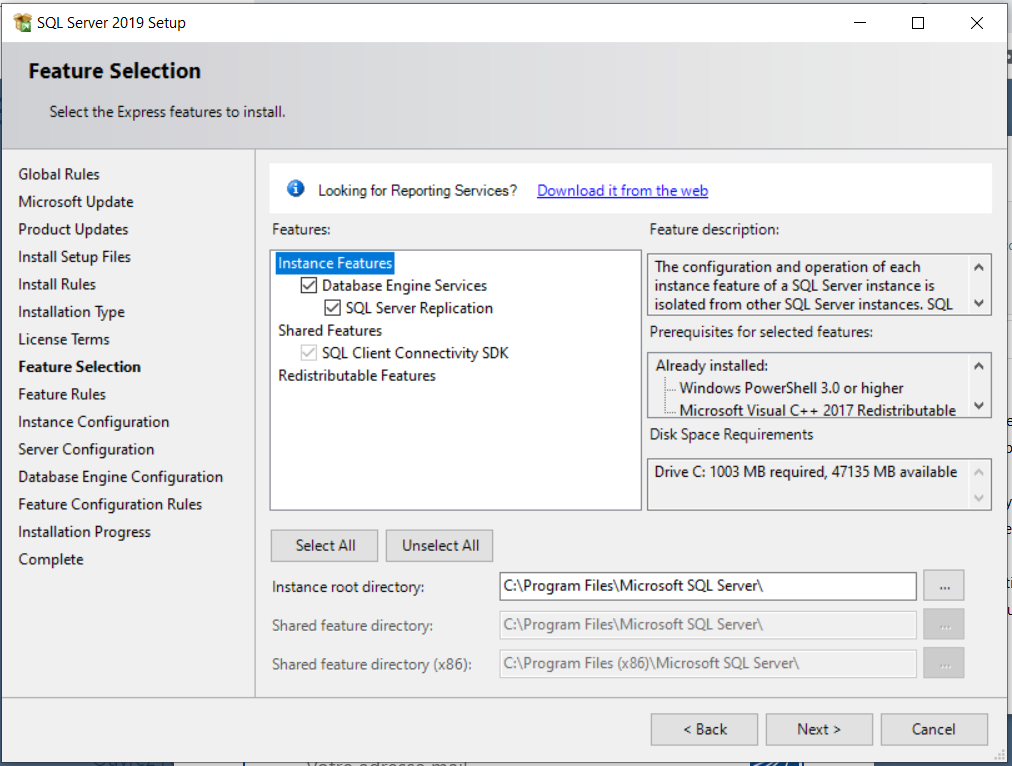
- Feature Selection and Feature Rules,
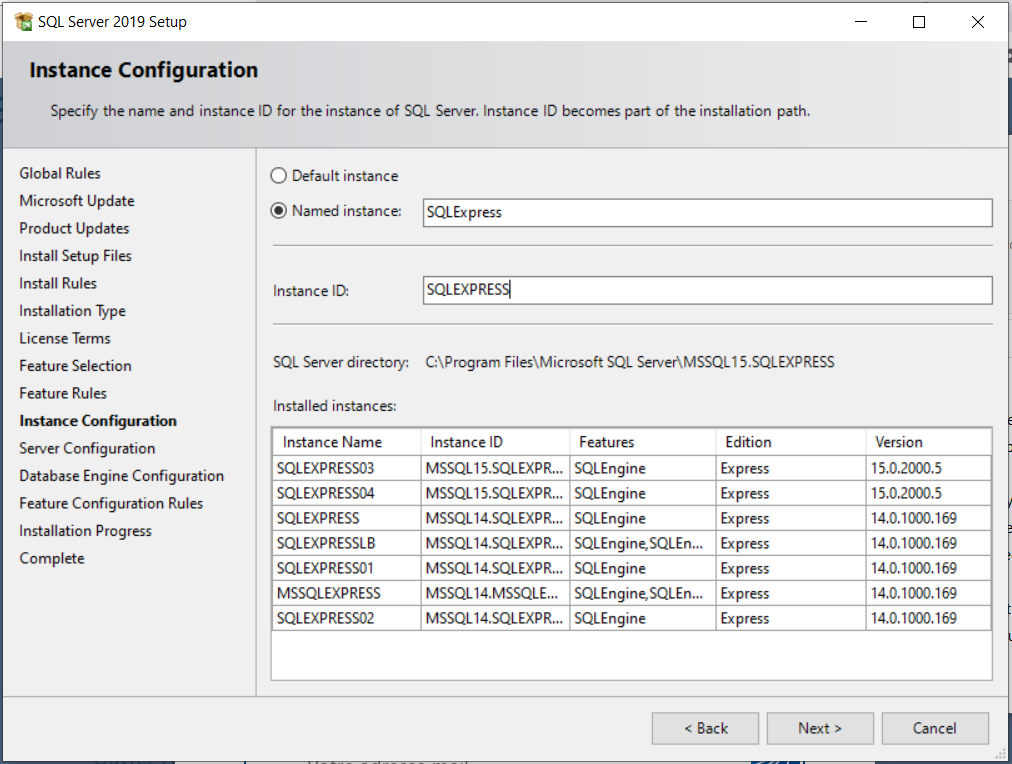
- In the ‘Instance Configuration’ screen, you will give a name to the SQL instance:
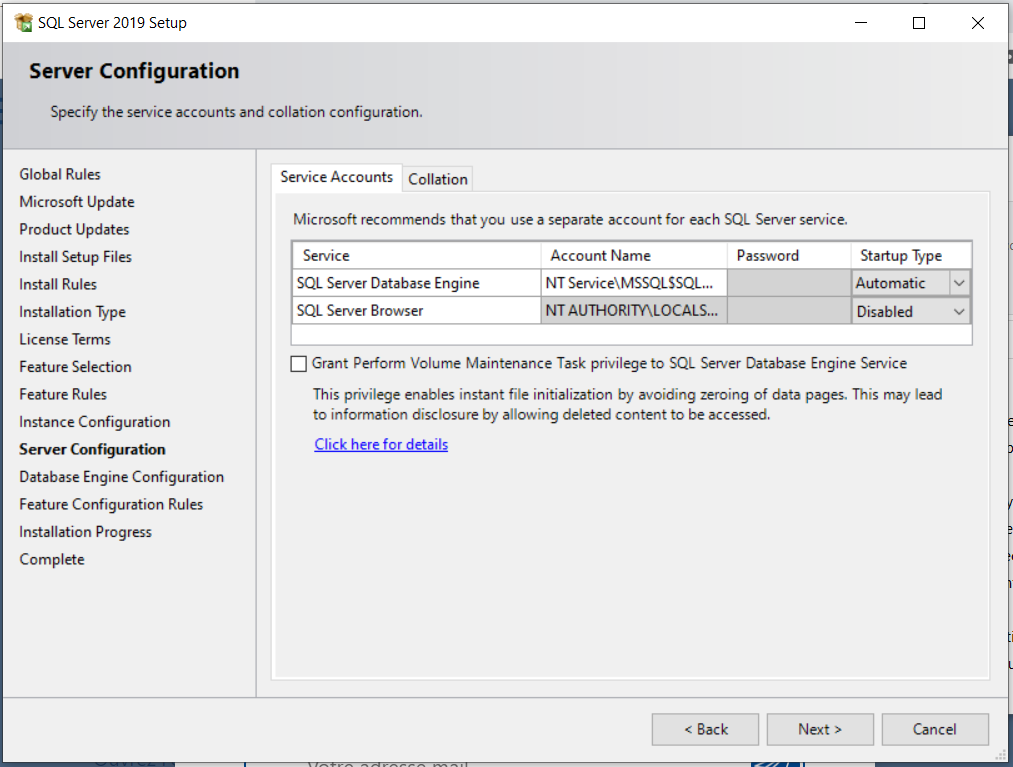
- We leave the default options for Server configuration, screen.
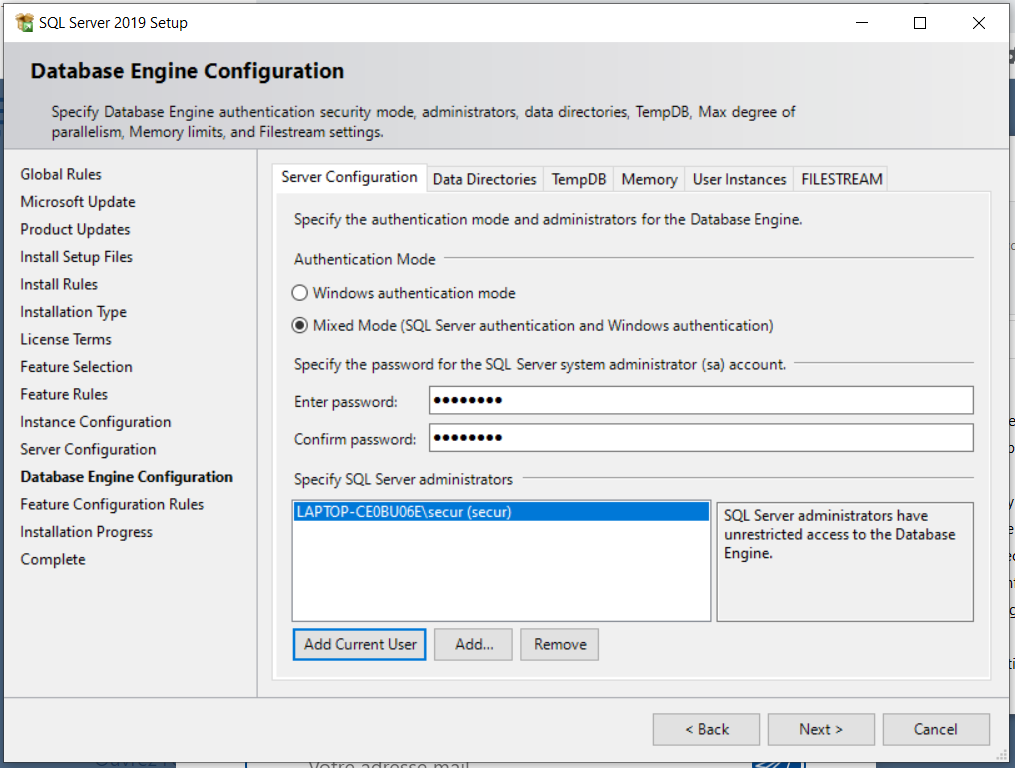
- On the next screen (Database Engine Configuration, choose Mixed Mode and set a password of the ‘sa’ login of the SQL server, and add the current windows user through the Add Current User button.
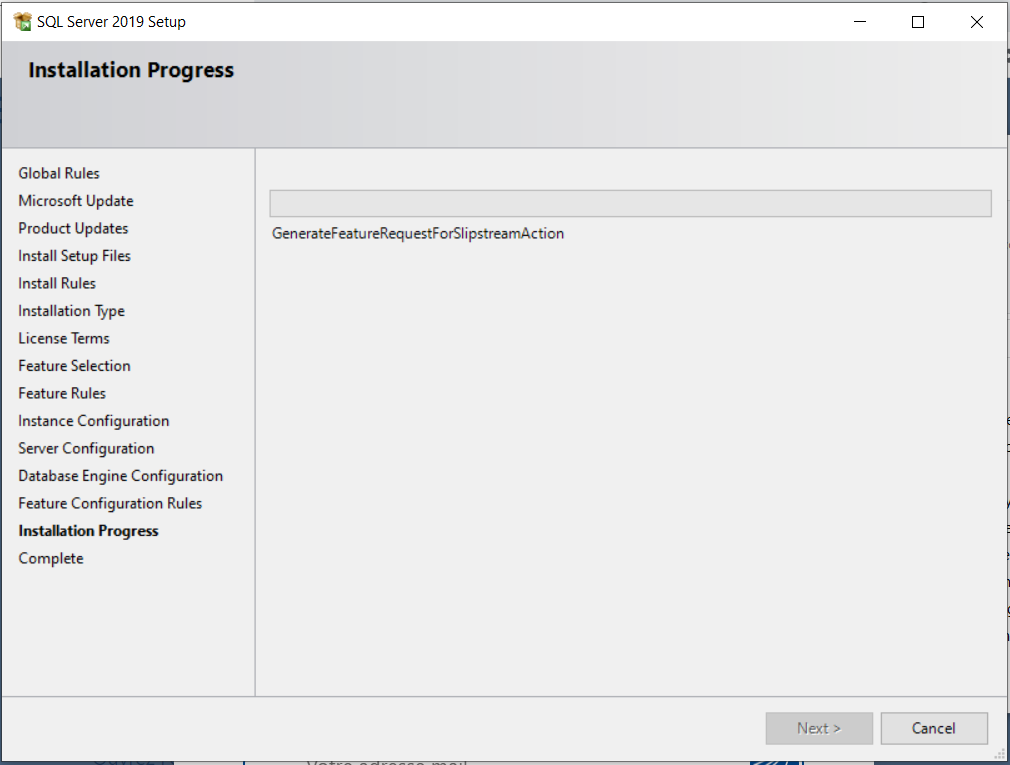
- Click Next until the end of the installation process.
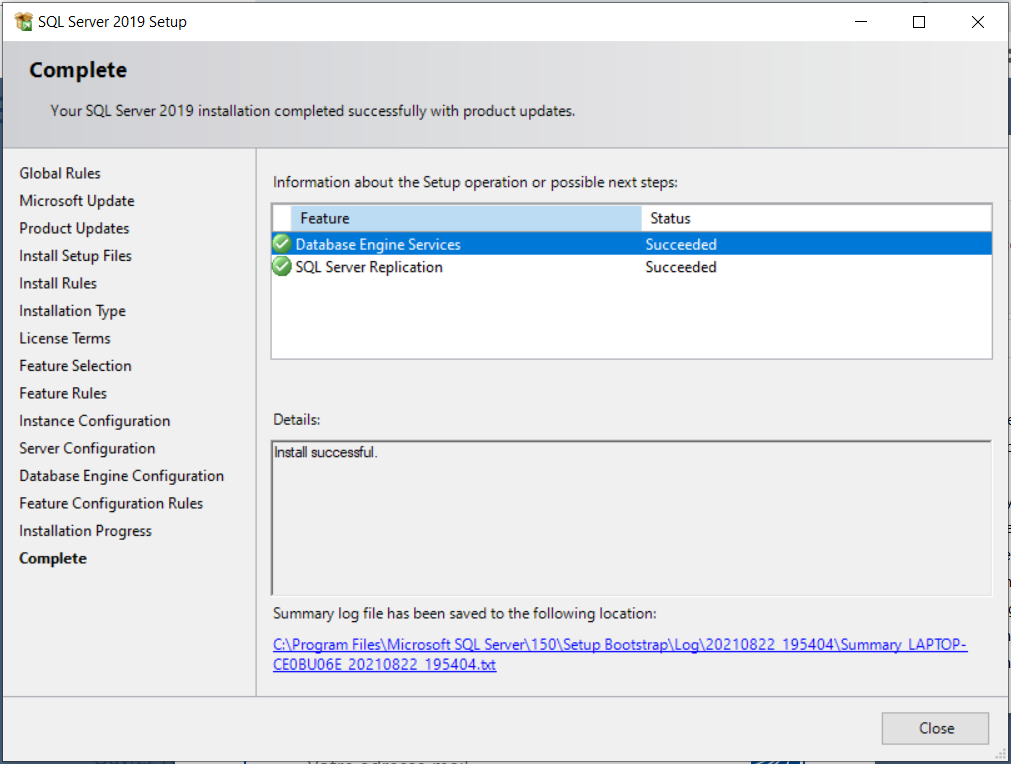
- If everything goes fine, you will see the next window notifying a successful installation. At this point, you can connect to the server, customize the installation and Install SQL Server Management Studio.
Install Microsoft SQL Server Management Studio
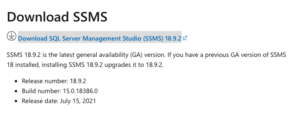
Now we have the Server installed, we can move on and install Microsoft SQL Server Management Studio. You can directly click the ‘Install SSMS’ button which will send you to this page.
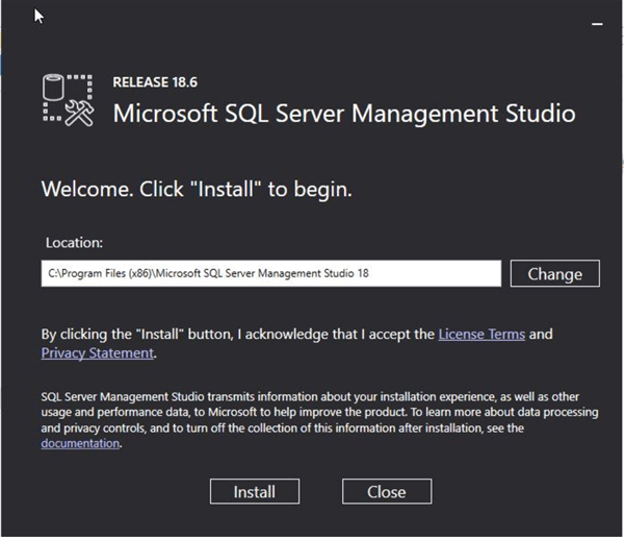
Once the file ‘SSMS-Setup-ENU.exe’ is downloaded, double click on it. The installation center window will open. You can change the location path of the installation before clicking the ‘Install’ button.
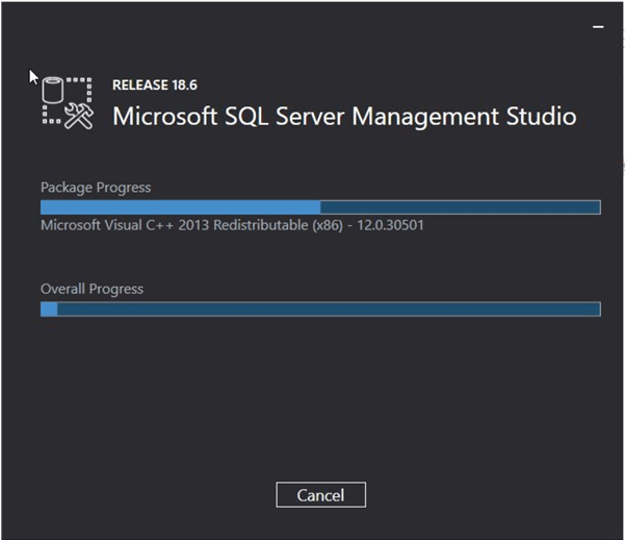
Packages will be loaded and then the installation will start automatically.
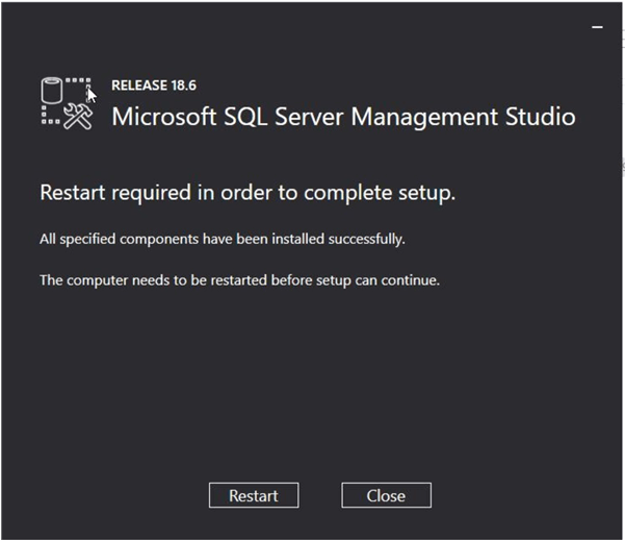
The next window will inform you that the tool has been successfully installed and a restart of the computer is required.
Now, we have our SQL Server and SSMS installed and we are able to use the latter to connect to our SQL Server. Before that, it may be useful to talk about SQL Server Configuration Manager.
SQL Server Configuration Manager
SQL Server Configuration Manager is a tool that allows managing the services associated with SQL Server, configure the network protocols (TCP…etc.), and manage the connectivity from SQL client terminals. It is installed with the SQL Server and can be opened from the Start menu.
To open the tool:
- Type in Windows’ Search the following: ‘SQLServerManagerXX.msc’ where XX is the version of the tool and depends on the SQL Server installed (SQL Server 2019 comes with SQLServerManager15.msc’). See documentation and post for more details.
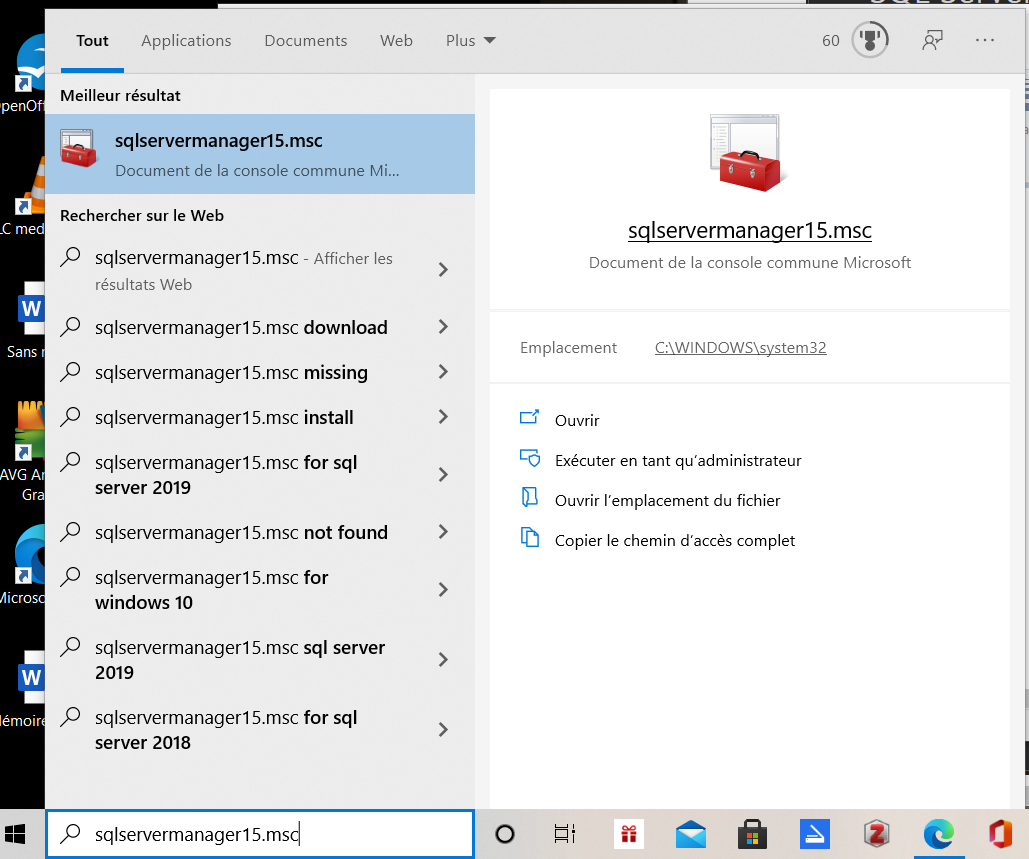
- Or, simply type SQL Server 2019 configuration manager.
You will see this window:
You can use this tool
- To list the SQL Server Services where you can monitor the instances states and take action such as stop, pause, resume and restart them,
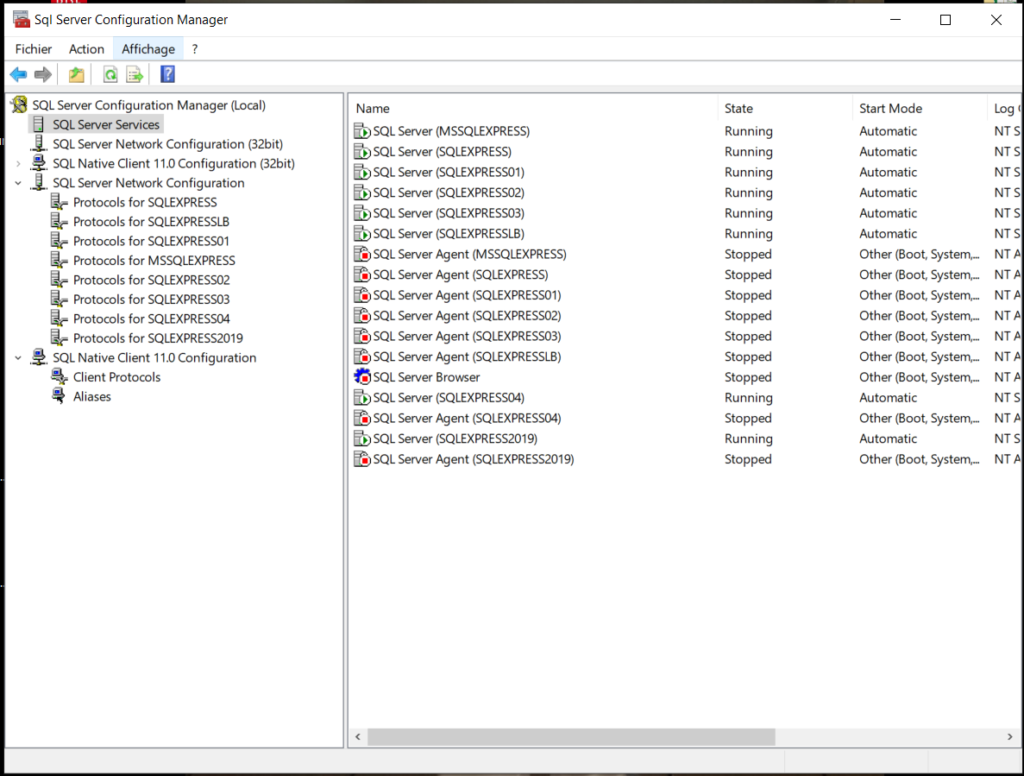
- To reconfigure the server connections for example to allow SQL Server to listen on a particular network protocol or port.
Connection to SQL Server from SSMS
From the Start menu open SSMS.
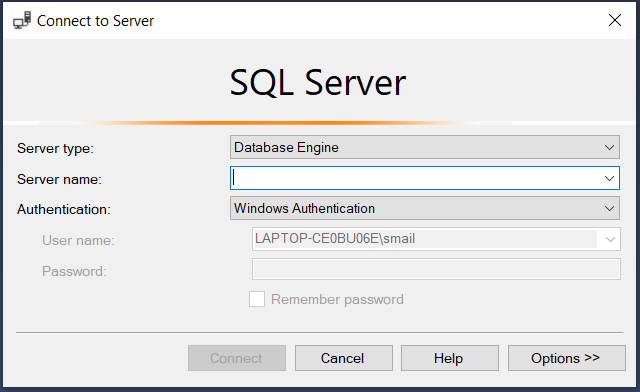
In the server name choose the service you recently have created:
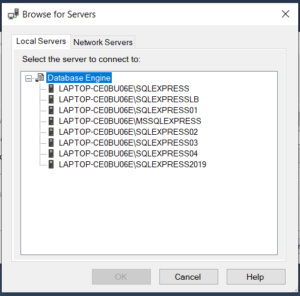
I have created several services. I will choose SQLEXPRESS2019.
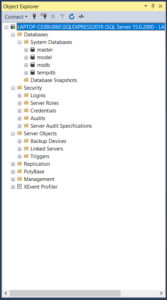
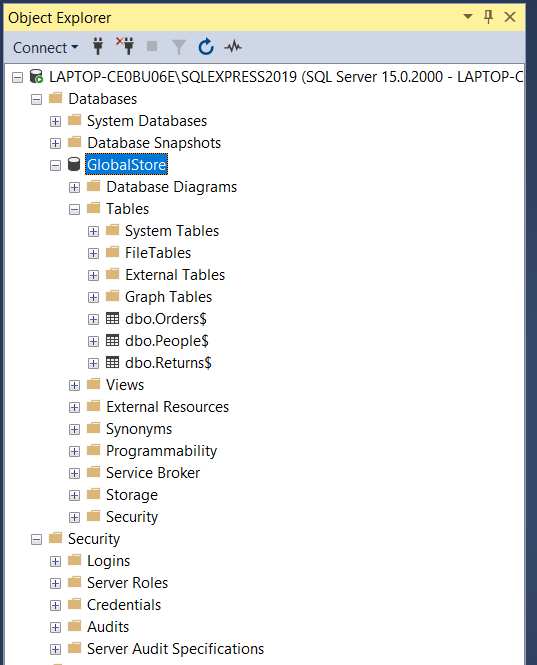
After the connection, you will see a hierarchy in your Object Explorer.
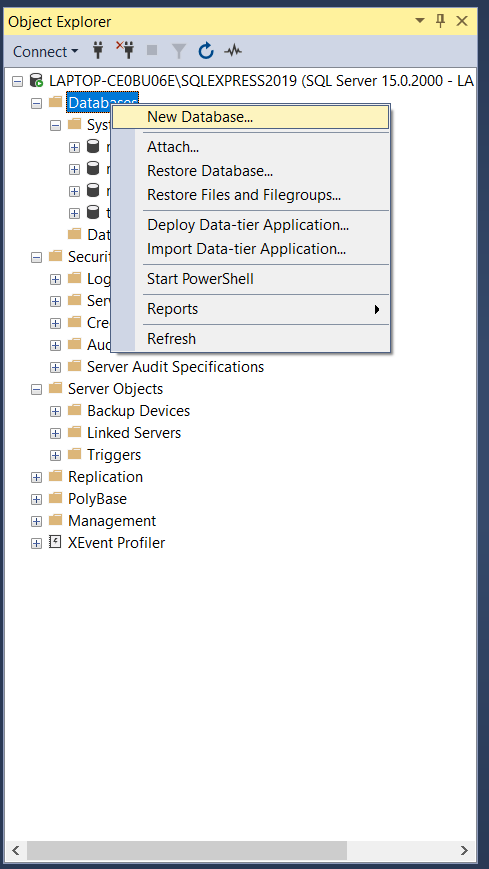
Create a database
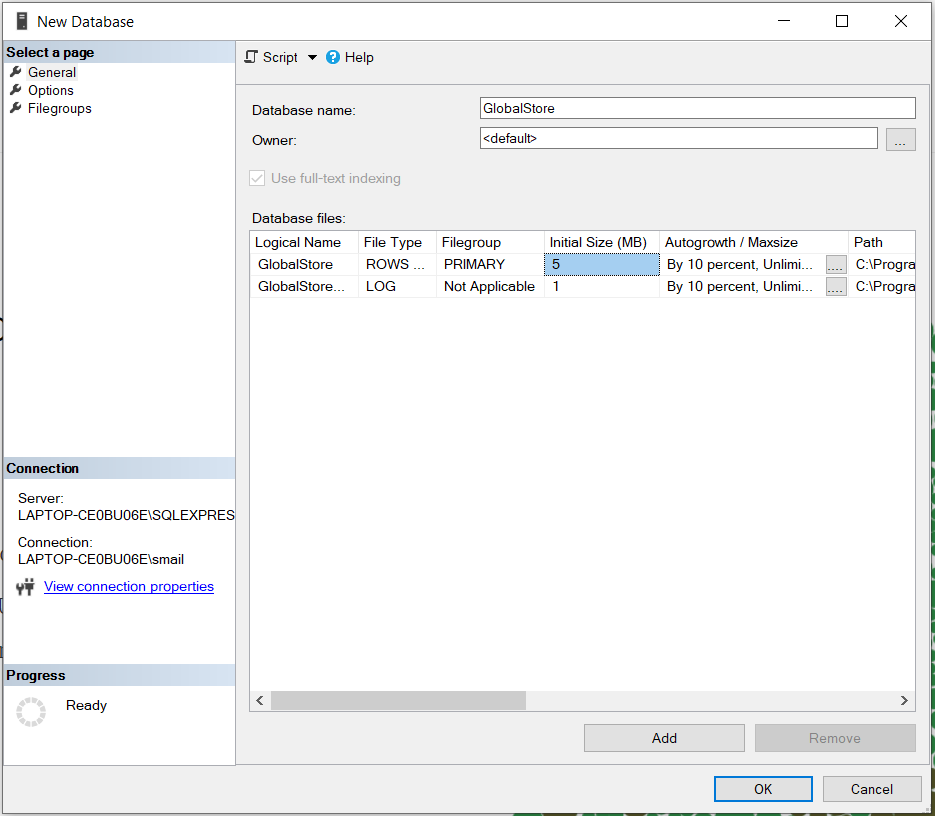
Now we will create a new database named GlobalStore.
Note: You will need to have admin privileges, adequate permissions, or be a member of the dbCreator/sysadmin fixed server role to create a new database.
Right-click on Database file in the hierarchy.
Give the name GlobalStore to the database.
As an administrator, I have created a new Login with a password and I mapped it to a new user that owns db_owner schema. And I affected the user to the newly created database. (A post about users, roles, and login will be added in the future)
Create tables
You can download the Global Superstore dataset from here, unzip it and use it to create our tables.
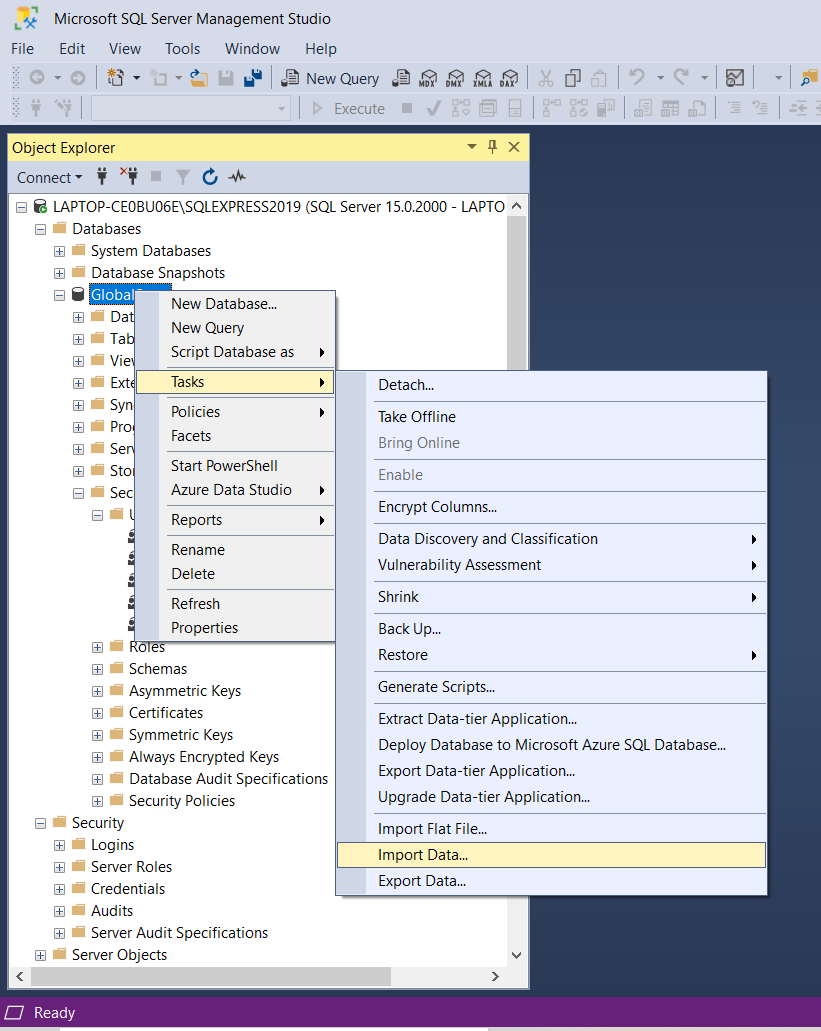
Right-click on GlobalStore, Tasks then Import Data… as shown:
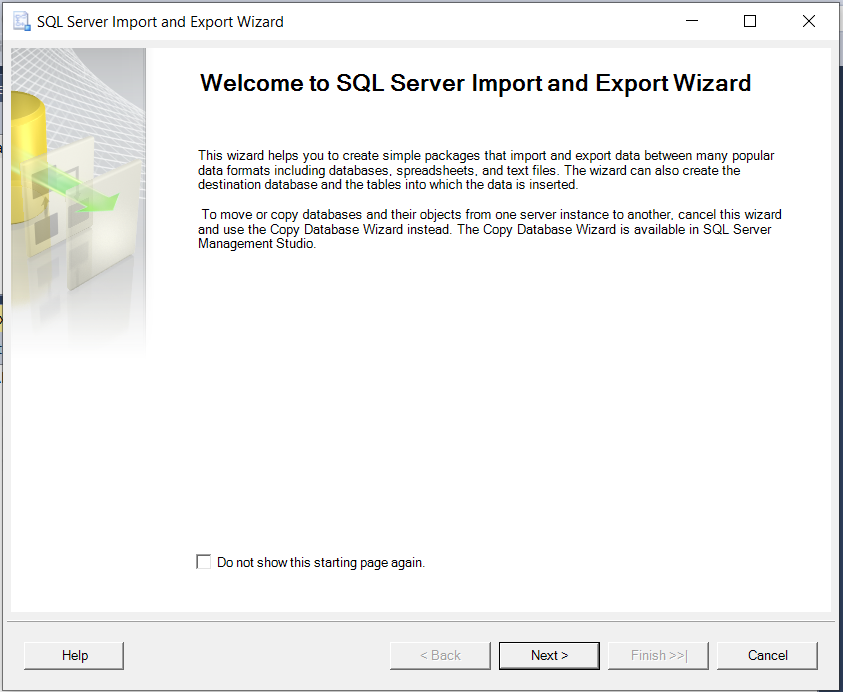
A wizard will open:
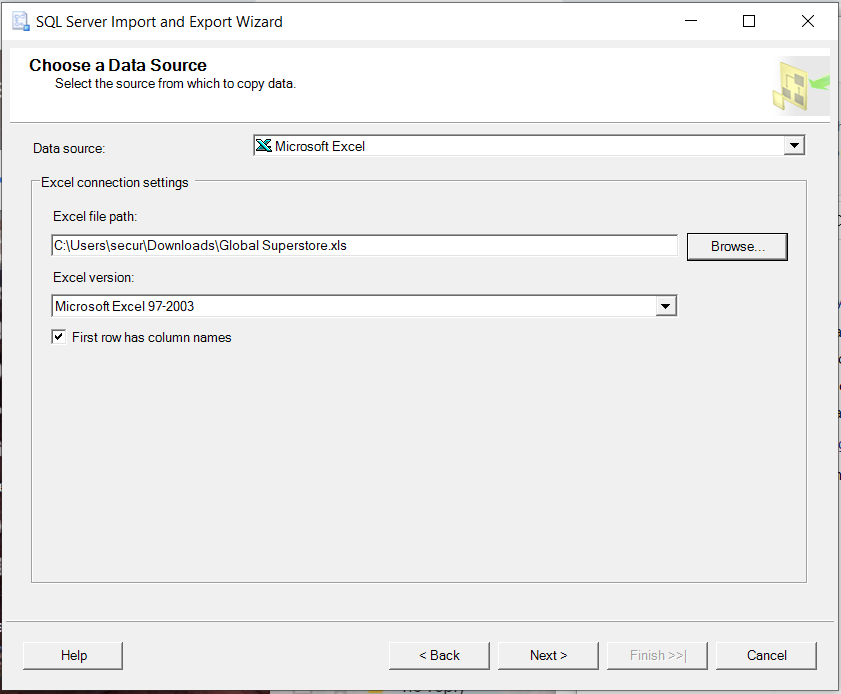
On the next window, choose ‘Microsoft Excel’ as a Data source then browse to the downloaded Excel file. Click Next.
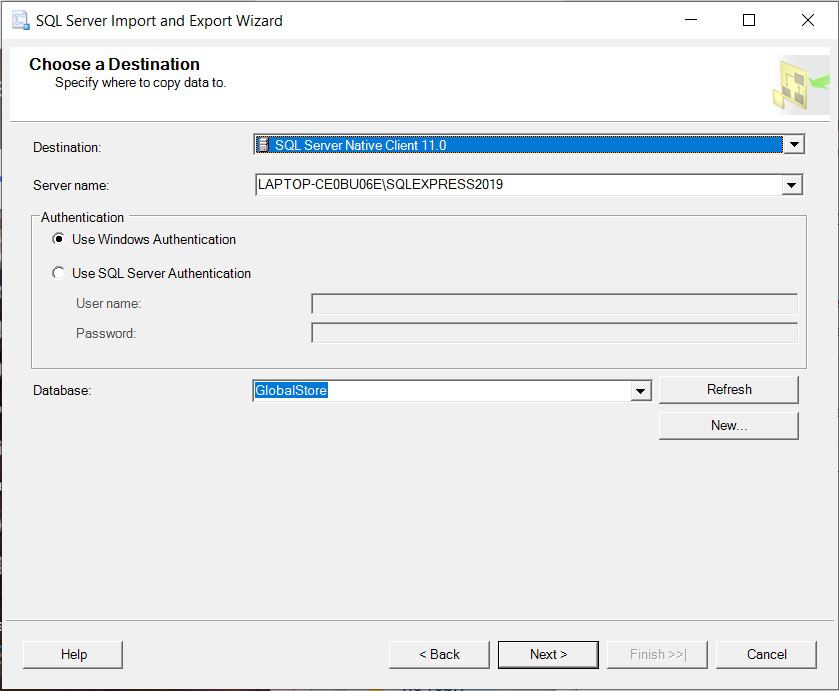
Choose ‘SQL Server Native Client 11.0’ as a destination and make sure to select the right Server Name and database (GlobalStore in this example). Click Next.
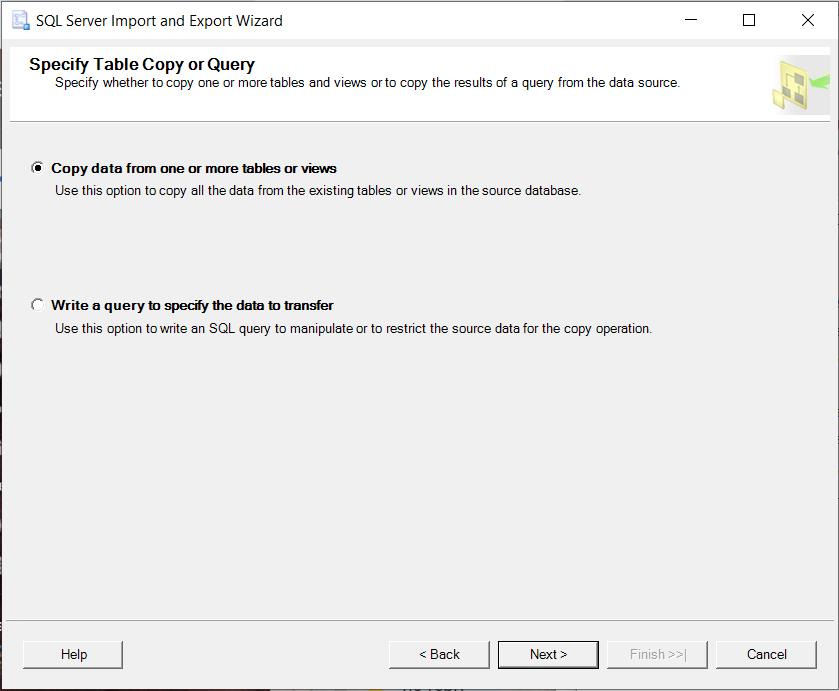
Choose the Copy data option and click Next,
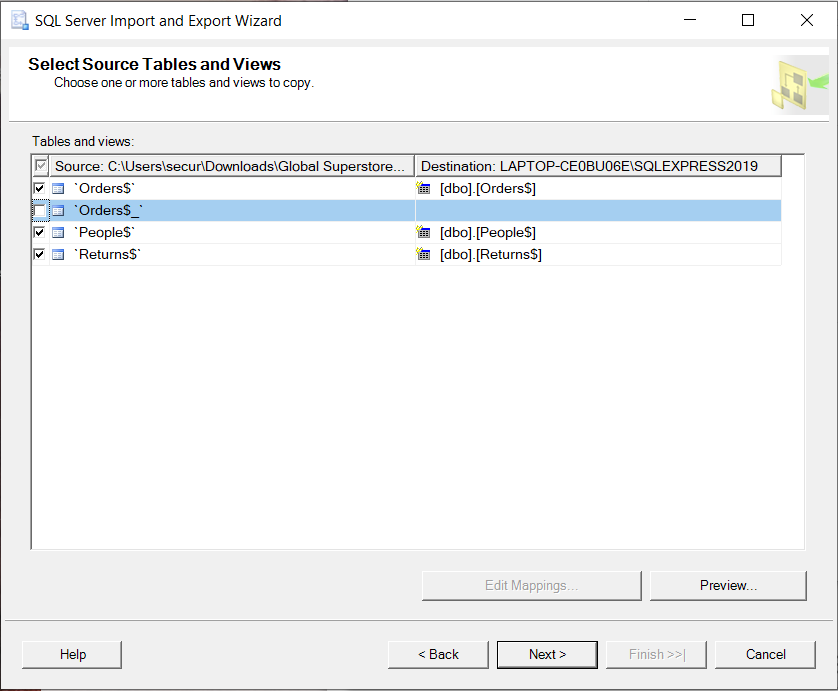
The Excel workbook has three worksheets that correspond to the tables we one to add to our database. Make sure to select the right sheets as shown below then click Next.
Choose the ‘Run immediately’ option.
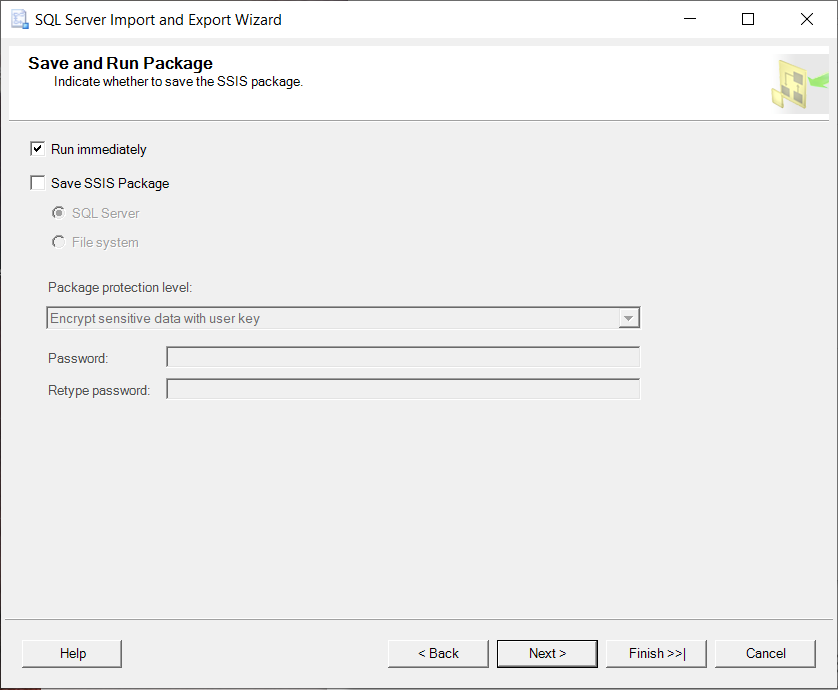
Click Finish in the recap window.
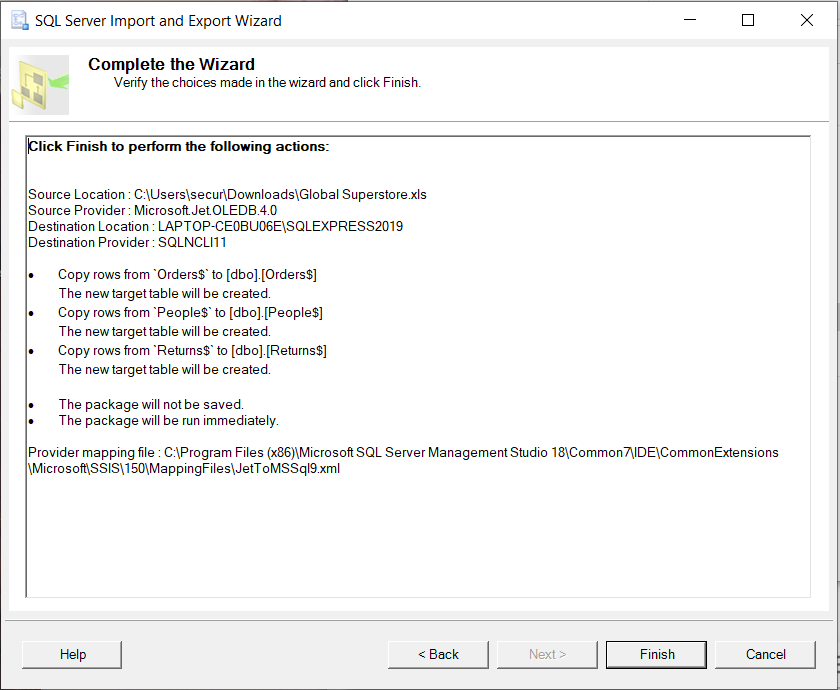
The process will start and you can see the progression.
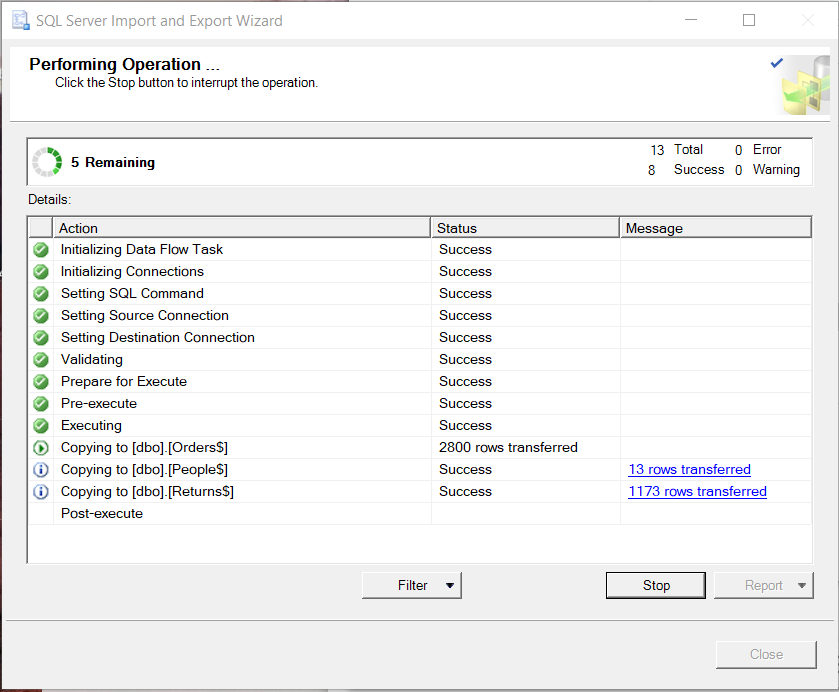
Click close when the process is finished.
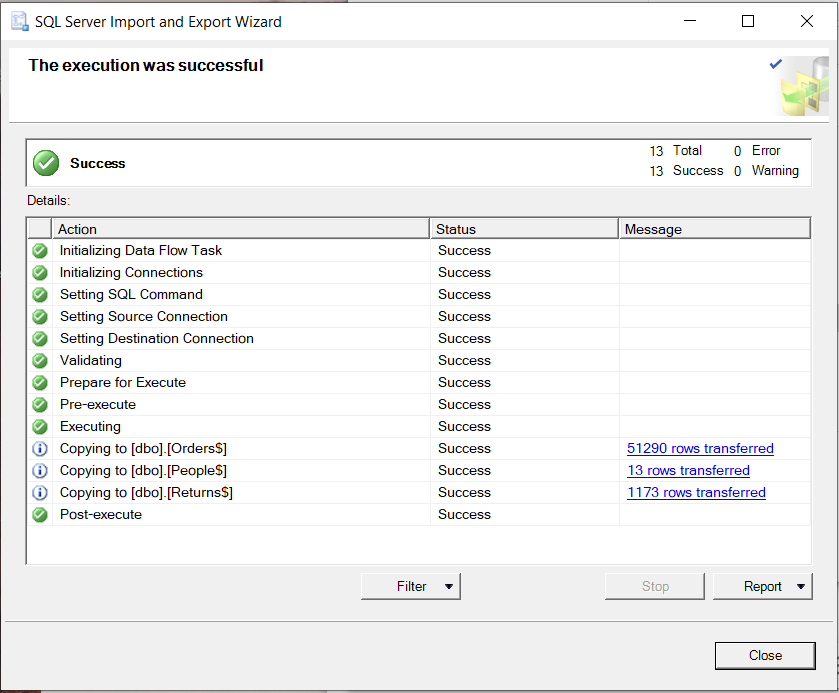
Now, we have our database populated with 3 tables on which we can perform several SQL requests.
Install DBeaver under MAC and remote access to SQL Server
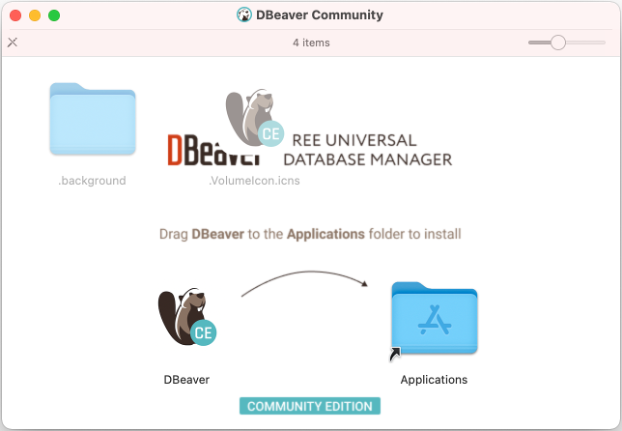
Download .dmg file from here.

Double-click on the file and Drag DBeaver to the Applications folder to install it.
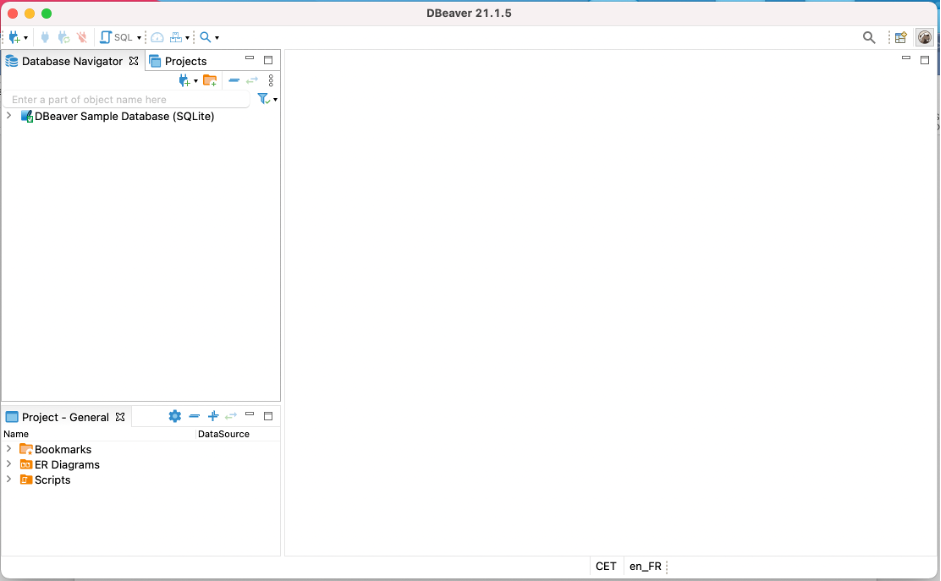
After that, open the tool. You will have a sample SQLite database to explore.
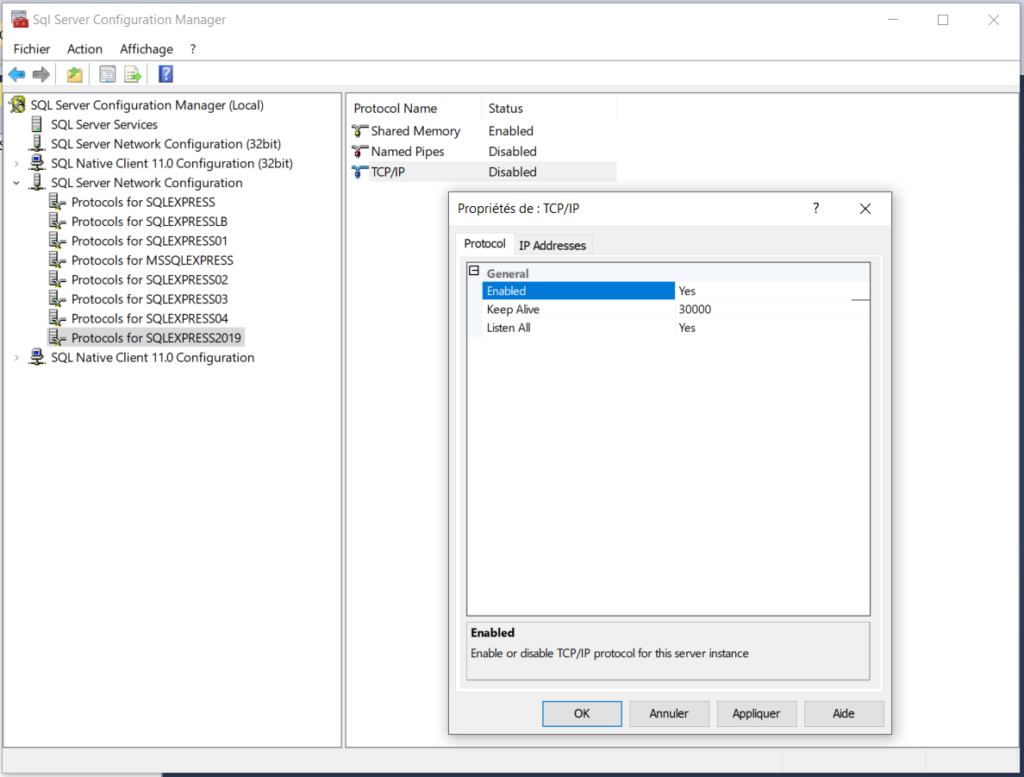
Before we can connect to our SQL Server we should perform some configurations to allow TCP/IP connection.
SQL Server TCP/IP configuration
Now, we need to find:
- Enable TCP/IP protocol for the service,
- Allow the firewall to listen on a specific port,
- the IP address of the machine on which we have our SQL Server 2019.
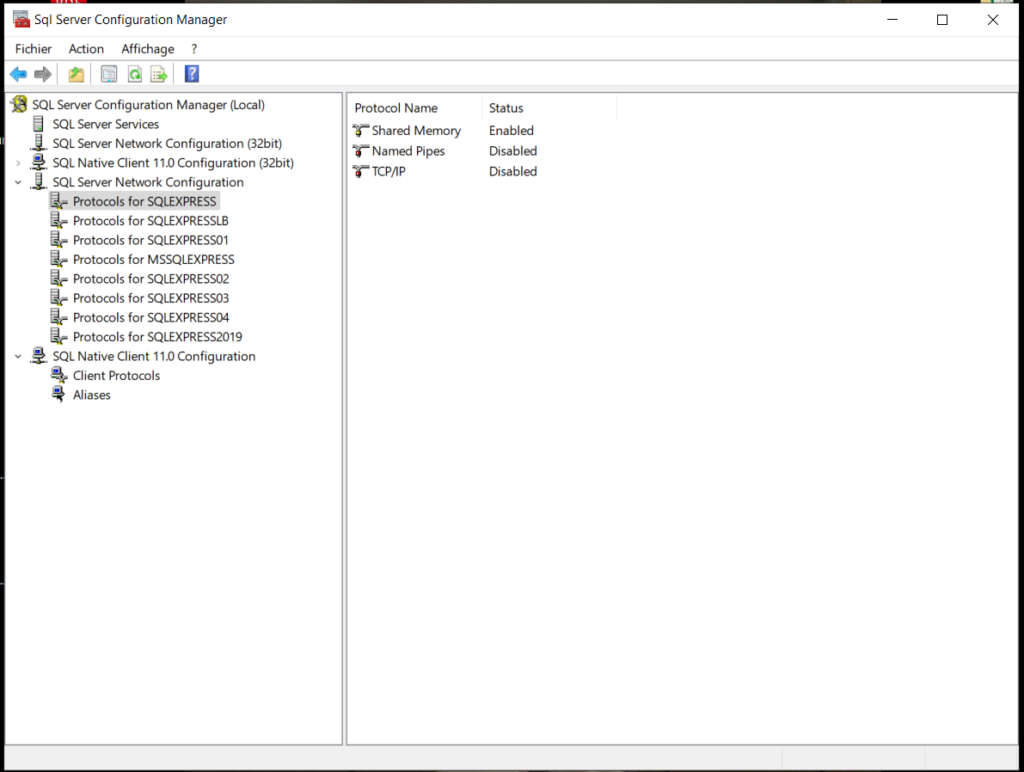
Open SQL configuration manager, SQL Server Network Configuration > choose your service. On the right-side window, under the Protocol tab, double-click on TCP/IP. A new window opens where you can choose Yes to enable the protocol. You need to restart the service to apply the changes.
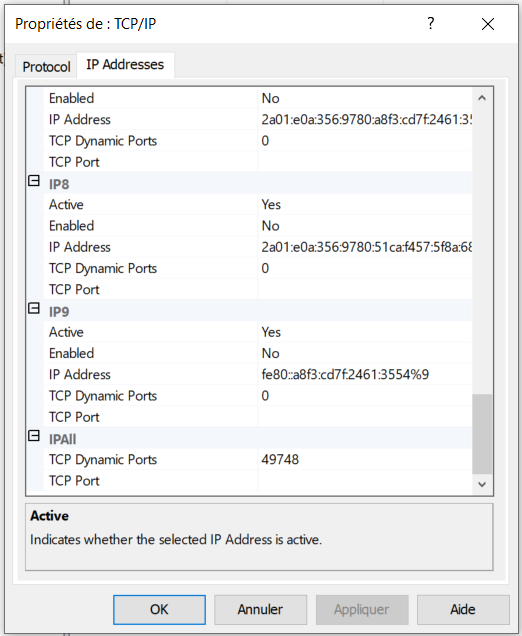
If you want to use a specific TCP Port, go under the IP Addresses tab, scroll down to IPALL, and put a Black in TCP dynamic Ports and your specific port in TCP Port. Put 0 if you want dynamic ports which will change when the service instance is restarted.
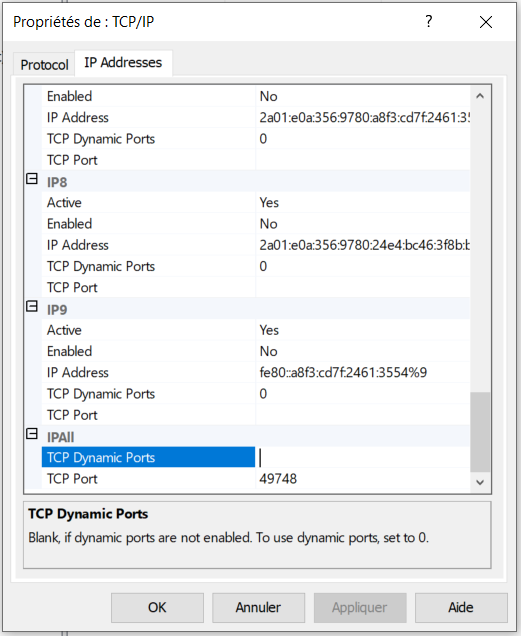
You will be able to find your IP address by searching in the specific IPs above IPALL. You may find two IP addresses (local and public). I choose the local address since both my computers are connected locally via Wifi.
The last thing you need to do is to open the port to allow receiving from our SQL client (DBeaver):
- Right-click the Start button,
- Click Search
- Type Windows Firewall,
- Click on the Windows Firewall program,
- Click Advanced settings
- In the left pane, click Inbound Rules, then click New Rule in the right pane of the window,
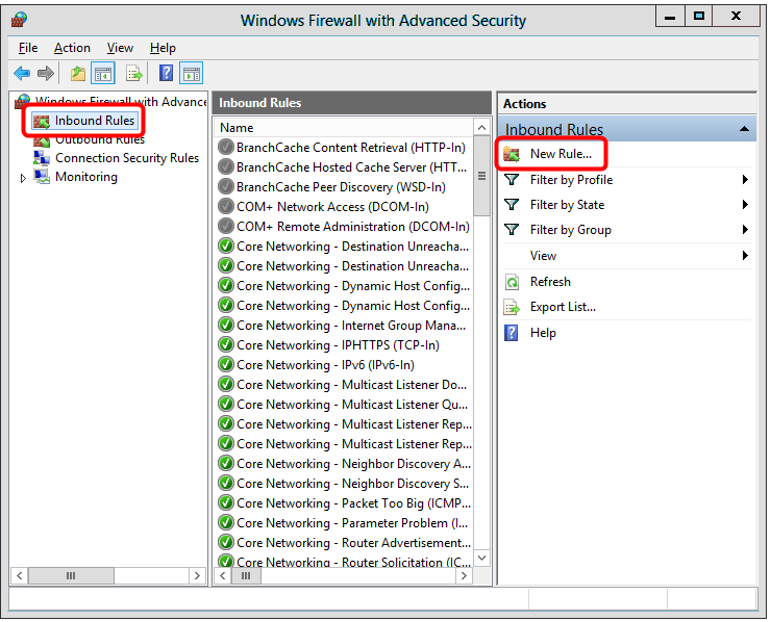
- Choose Port and click Next,
- Choose TCP and Specific local ports, then type the port number then Next,
- Click Allow the connection, Next,
- Choose then network types you would like to allow the connection over. Uncheck Public if your computers are in the same local network. Click Next,
- Type a name and an optional description for the rule and click Finish
For more details see this post.
Connection to SQL Server from DBeaver
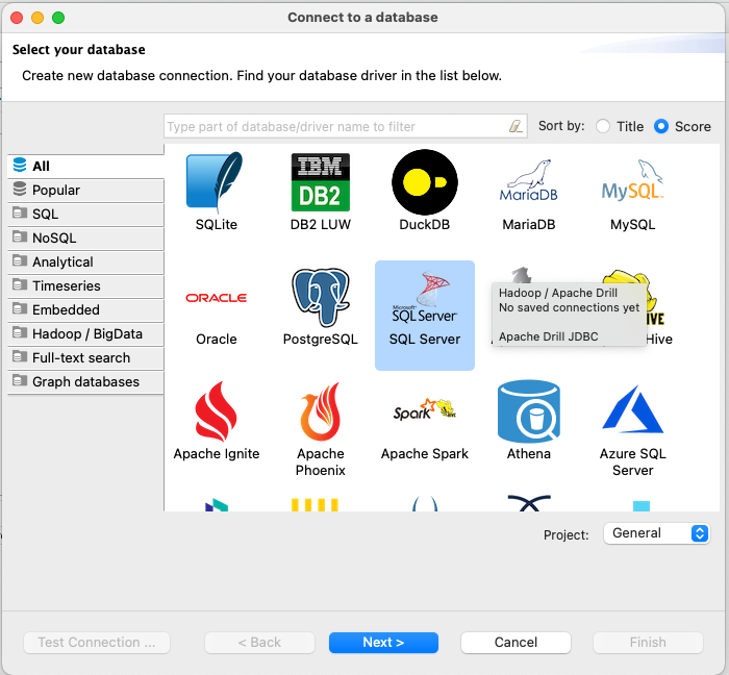
Click on the New Database Connection icon (with a plus) on the toolbar. Choose Microsoft SQL Server driver. You will be asked to download the driver if it is the first time you use that server. Simply click on the Download button.
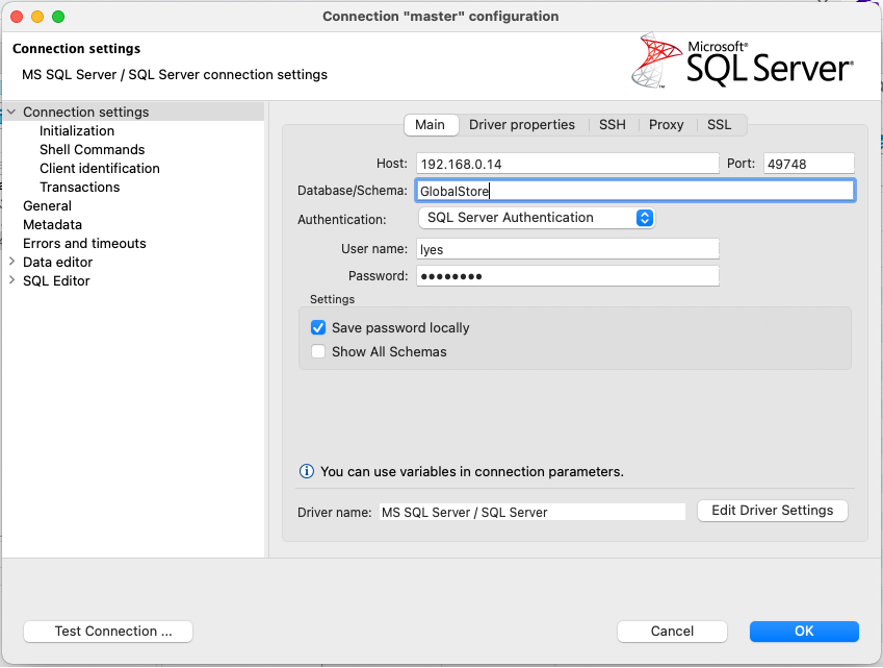
In the Main tab, type the IP address of the machine hosting the SQL server and the port, type the name of the database, and choose your authentication method. You can run a connection test to check for any errors then click Ok
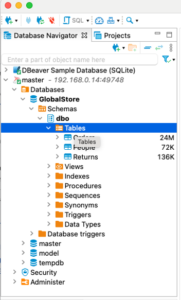
Now, we can see on Database Navigator our database.
Conclusion
The next step will be to explore SQL statements.